
How To Replace A Mazda CX-9 Fuel Injector
Your Mazda’s fuel injectors are crucial in ensuring that your engine runs properly. They are controlled by the car’s Electronic Control Module (ECM). They inject precise amounts of gas into the cylinders. If they malfunction or fail, your car will start to run poorly (among other tell-tale symptoms you can learn about here) and will eventually leave you stranded.
Are you noticing the following issues?
- Rough Idling
- Decreased Fuel Efficiency
- Engine Misfires
- Stalling
- Decreased Performance
Then, it’s time to replace your injectors.
This tutorial will provide a step-by-step guide to replacing the fuel injectors in a 2007-2015 Mazda CX-9. While the steps provided here are for the CX-9, replacing the fuel injectors in most Mazda models, except rotary engine vehicles, will follow a similar process.
Preparation
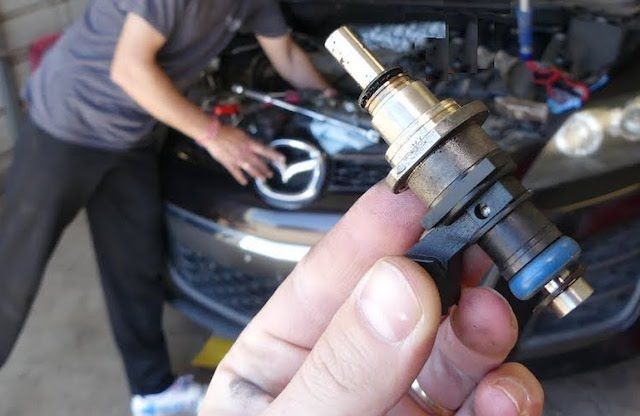
Image Credit: WorldMechanics
You should have the majority of these tools required in your garage already. You'll need:
- Socket set (10mm socket is essential)
- Ratchet set
- Needle nose pliers
- Philips screwdriver
- Pick tool
- Cleaning cloths and rags (for potential fuel spillage)
Fuel Injector Replacement Process
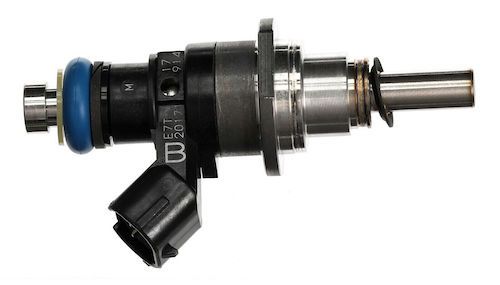
Replacing your Mazda’s fuel injectors requires a bit of know-how. But doing them yourself will save you in labor costs, and below you'll find a step-by-step guide on how to do it:
- Disconnect battery leads.
- Remove fresh air intake. It is the plastic section at the front of the engine bay.
- Remove air filter housing. You will need to loosen the clip on the air intake pipe, unclip the MAF sensor, and remove the air intake tube as well.
- Remove engine cover – pulls straight off once you remove the oil fill cap. Make sure to put the oil cap back on to prevent dirt entering the engine.
- Remove air filter and air intake box - It comes out with a quick pull.
- Remove brackets holding throttle body in place. Loosen the wiring harness and connecting wires above the throttle body - this will give you more space to access the injectors.
- Loosen and move aside the two harnesses running along the front of the intake manifold.
- Remove the bolts securing the intake manifold to the block.
- Work the manifold loose and remove the two hoses connected to the back of it. There is also a plug that needs to be unclipped on the left rear side. Plug the intake channels in the engine block with some paper to prevent foreign objects falling into the engine.
- The fuel line will now be exposed. Remove the fuel line from the fuel rail. Some fuel may leak out so place a cloth underneath it.
- Remove the fuel injector wiring harness by releasing the plastic securing tab.
- Unscrew the nuts holding the fuel rail in place.
- Lift up the fuel rail and gently pull out the injectors.
Now, it’s time to fit your OEM replacement fuel injectors. Always lubricate the O-rings of the new injectors with a small amount of oil.
Once your new injectors are in, follow steps 1-12 in reverse order to put the rest of the components back together.
Always Use OEM Fuel Injectors For Your Mazda
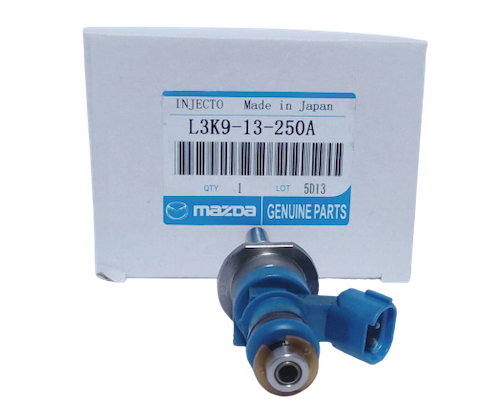
Replacing your own fuel injectors can save you time and money. Buying genuine fuel injectors from REAL Mazda Parts will also get you the best parts prices. Buying OEM parts guarantees that they’ll fit perfectly and work exactly as the manufacturer intended. The manufacturer’s warranty also backs every OEM part we sell.
Our VIN decoder will help you find the right OEM injector first time. You can also contact our Mazda experts if you need help finding the perfect genuine injector for your Mazda. You’ll soon see why our motto is ‘We make it easy’.